> For the complete documentation index, see [llms.txt](https://docs.zenml.io/llms.txt). Markdown versions of documentation pages are available by appending `.md` to page URLs; this page is available as [Markdown](https://docs.zenml.io/stacks/stack-components/orchestrators/databricks.md).
# Databricks Orchestrator
Orchestrating your pipelines to run on Databricks.
[Databricks](https://www.databricks.com/) is a unified data analytics platform that combines the best of data warehouses and data lakes to offer an integrated solution for big data processing and machine learning. It provides a collaborative environment for data scientists, data engineers, and business analysts to work together on data projects. Databricks offers optimized performance and scalability for big data workloads.
The Databricks orchestrator is an orchestrator flavor provided by the ZenML databricks integration that allows you to run your pipelines on Databricks. This integration enables you to leverage Databricks' powerful distributed computing capabilities and optimized environment for your ML pipelines within the ZenML framework.
If you only want to run selected steps on Databricks while keeping the overall pipeline on another orchestrator, use the [Databricks step operator](/stacks/stack-components/step-operators/databricks.md) instead.
{% hint style="warning" %}
The following features are currently in Alpha and may be subject to change. We recommend using them in a controlled environment and providing feedback to the ZenML team.
{% endhint %}
### When to use it
You should use the Databricks orchestrator if:
* you're already using Databricks for your data and ML workloads.
* you want to leverage Databricks' powerful distributed computing capabilities for your ML pipelines.
* you're looking for a managed solution that integrates well with other Databricks services.
* you want to take advantage of Databricks' optimization for big data processing and machine learning.
### Prerequisites
You will need to do the following to start using the Databricks orchestrator:
* An active Databricks workspace. See the cloud-specific setup guides:
* [AWS](https://docs.databricks.com/en/getting-started/onboarding-account.html)
* [Azure](https://learn.microsoft.com/en-us/azure/databricks/getting-started/#--create-an-azure-databricks-workspace)
* [GCP](https://docs.gcp.databricks.com/en/getting-started/index.html)
* A Databricks account or service account with permission to create and run jobs.
## How it works

When you run a pipeline with the Databricks orchestrator, ZenML builds a Python wheel from your project and uploads it to Databricks. ZenML then uses the Databricks SDK to create a job whose tasks mirror your pipeline steps and their upstream dependencies.
The job uses the cluster settings configured on the orchestrator, including Spark version, worker count or autoscaling, node type, and any Spark configuration. When Databricks starts the job, each task installs the uploaded wheel and executes the corresponding ZenML step entrypoint.
{% hint style="info" %}
The orchestrator keeps uploaded wheel packages under `/Workspace/Shared/.zenml` after a successful job submission because Databricks job definitions, scheduled runs, and manual re-runs keep referencing those workspace files. Clean up old wheel directories from that workspace path according to your team's retention policy when you no longer need to re-run those jobs.
{% endhint %}
### How to use it
To use the Databricks orchestrator, you first need to register it and add it to your stack. Before registering the orchestrator, you need to install the Databricks integration by running the following command:
```shell
zenml integration install databricks
```
This installs the required dependencies, including `databricks-sdk`. Once the integration is installed, register the orchestrator and configure authentication:
```shell
zenml orchestrator register databricks_orchestrator --flavor=databricks --host="https://xxxxx.x.azuredatabricks.net" --client_id={{databricks.client_id}} --client_secret={{databricks.client_secret}}
```
{% hint style="info" %}
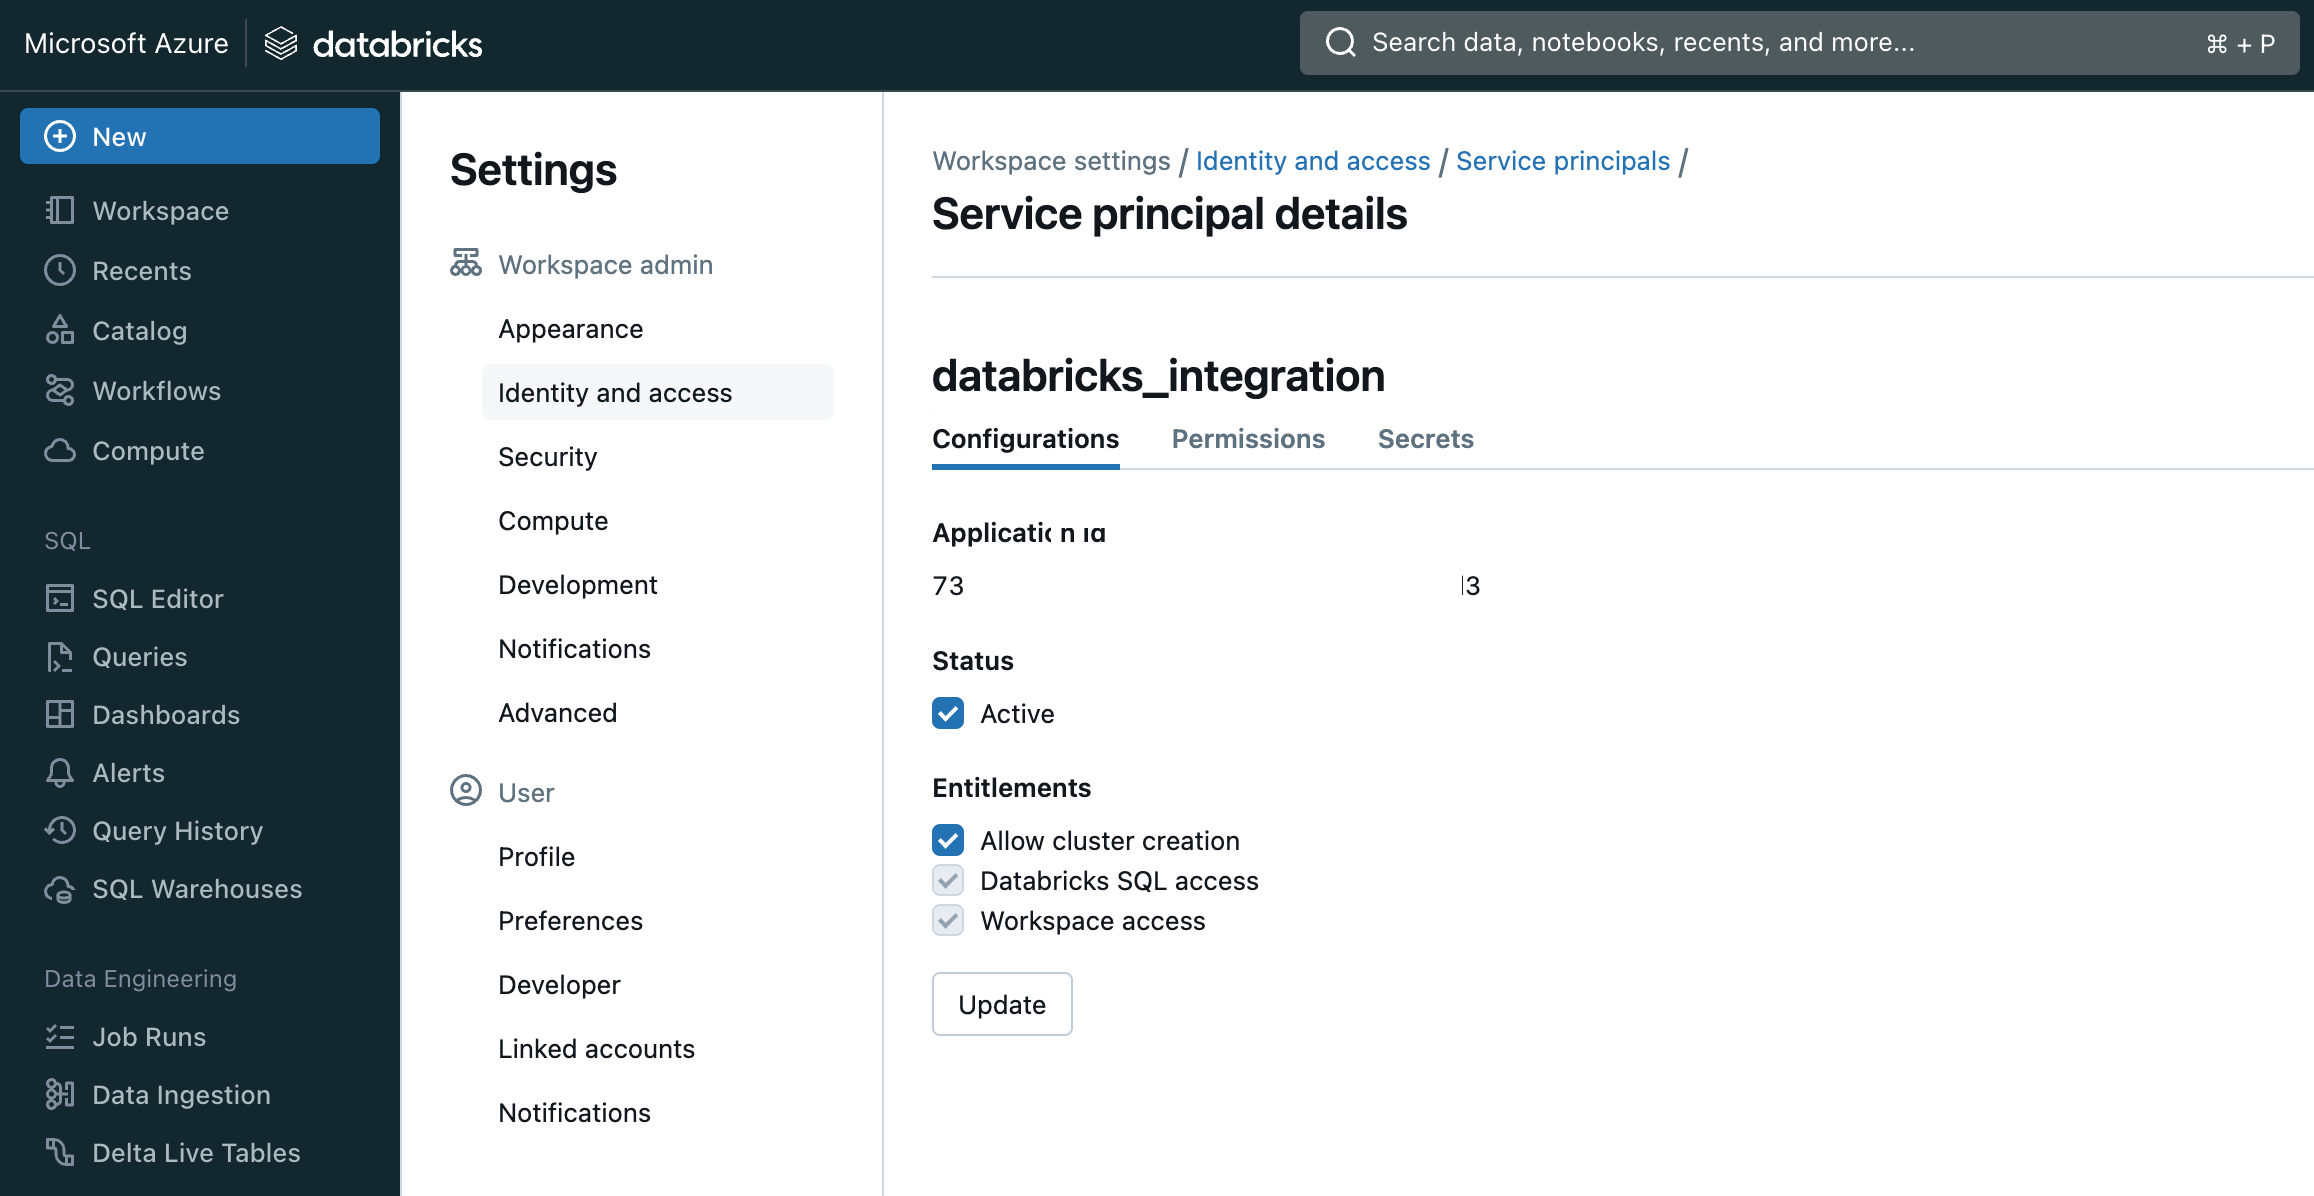
We recommend creating a Databricks service account with the necessary permissions to create and run jobs. You can find more information on how to create a service account [here](https://docs.databricks.com/dev-tools/api/latest/authentication.html). You can generate a client\_id and client\_secret for the service account and use them to authenticate with Databricks.
{% endhint %}
```shell
# Add the orchestrator to your stack
zenml stack register databricks_stack -o databricks_orchestrator ... --set
```
You can now run any ZenML pipeline using the Databricks orchestrator:
```shell
python run.py
```
### Databricks UI
Databricks comes with its own UI that you can use to find further details about your pipeline runs, such as the logs of your steps.

For any runs executed on Databricks, you can get the URL to the Databricks UI in Python using the following code snippet:
```python
from zenml.client import Client
pipeline_run = Client().get_pipeline_run("")
orchestrator_url = pipeline_run.run_metadata["orchestrator_url"].value
```

### Run pipelines on a schedule
The Databricks orchestrator supports running pipelines on a schedule using its [native scheduling capability](https://docs.databricks.com/en/workflows/jobs/schedule-jobs.html).
**How to schedule a pipeline**
```python
from zenml.config.schedule import Schedule
# Run a pipeline every 5th minute
pipeline_instance.run(
schedule=Schedule(
cron_expression="*/5 * * * *"
)
)
```
{% hint style="warning" %}
The Databricks orchestrator only supports the `cron_expression`, in the `Schedule` object, and will ignore all other parameters supplied to define the schedule.
{% endhint %}
{% hint style="warning" %}
The Databricks orchestrator requires an IANA timezone ID to be configured through `schedule_timezone` in the orchestrator settings (see below for more information on how to set orchestrator settings).
{% endhint %}
**How to delete a scheduled pipeline**
ZenML creates the Databricks schedule, but you manage its lifecycle in Databricks. To cancel a scheduled Databricks pipeline, delete the schedule in Databricks via the UI or CLI.
### Additional configuration
For additional configuration of the Databricks orchestrator, you can pass `DatabricksOrchestratorSettings` which allows you to change the Spark version, number of workers, node type, autoscale settings, Spark configuration, Spark environment variables, schedule timezone, init scripts, and Docker image settings. Init scripts must use DBFS paths that start with `dbfs:/`. If you configure Docker registry authentication, provide both `docker_image_username` and `docker_image_password`.
```python
from zenml.integrations.databricks.flavors.databricks_orchestrator_flavor import DatabricksOrchestratorSettings
databricks_settings = DatabricksOrchestratorSettings(
spark_version="15.3.x-scala2.12",
num_workers=3,
node_type_id="Standard_D4s_v5",
policy_id=POLICY_ID,
spark_conf={},
spark_env_vars={},
init_scripts=["dbfs:/scripts/install_dependencies.sh"],
schedule_timezone="America/Los_Angeles",
)
```
Use `num_workers` for fixed-size clusters. For autoscaling clusters, omit `num_workers` and set `autoscale`, for example `autoscale=(2, 3)`.
These settings can then be specified on either pipeline-level or step-level:
```python
# Either specify on pipeline-level
@pipeline(
settings={
"orchestrator": databricks_settings,
}
)
def my_pipeline():
...
```
#### Tagging Databricks resources
You can apply tags to Databricks resources for cost allocation, governance, and project tracking using two settings:
* `custom_tags`: Applied to the underlying cluster resources (e.g., AWS EC2 instances, EBS volumes). Maximum 45 tags.
* `job_tags`: Applied to the Databricks job itself and forwarded as cluster tags. Maximum 25 tags.
By default, Databricks autoscaling uses `(0, 1)` worker bounds. This intentionally permits driver-only clusters while still allowing one worker when needed.
```python
from zenml.integrations.databricks.flavors.databricks_orchestrator_flavor import DatabricksOrchestratorSettings
databricks_settings = DatabricksOrchestratorSettings(
spark_version="15.3.x-scala2.12",
num_workers=3,
node_type_id="Standard_D4s_v5",
custom_tags={"cost_center": "ml-team", "environment": "production"},
job_tags={"project": "recommendation-engine", "owner": "data-team"},
)
```
To use GPU-backed clusters, set `spark_version` and `node_type_id` to GPU-enabled values:
```python
from zenml.integrations.databricks.flavors.databricks_orchestrator_flavor import DatabricksOrchestratorSettings
databricks_settings = DatabricksOrchestratorSettings(
spark_version="15.3.x-gpu-ml-scala2.12",
node_type_id="Standard_NC24ads_A100_v4",
policy_id=POLICY_ID,
autoscale=(1, 2),
)
```
With these settings, the orchestrator uses a GPU-enabled Spark version and node type.
#### Enabling CUDA for GPU-backed hardware
If your steps need CUDA, follow the [distributed training guide](https://docs.zenml.io/user-guides/tutorial/distributed-training) to configure the required dependencies and runtime settings.
Check out the [SDK docs](https://sdkdocs.zenml.io/latest/integration_code_docs/integrations-databricks.html#zenml.integrations.databricks) for all configurable attributes and [this docs page](https://docs.zenml.io/concepts/steps_and_pipelines/configuration) for more information on how to specify settings.
---
# Agent Instructions
This documentation is published with GitBook. GitBook is the documentation platform designed so that both humans and AI agents can read, navigate, and reason over technical content effectively. Learn more at gitbook.com.
## Querying This Documentation
If you need additional information that is not directly available in this page, you can query the documentation by asking a question.
Perform an HTTP GET request on the following URL with the `ask` and `goal` query parameters:
```
GET https://docs.zenml.io/stacks/stack-components/orchestrators/databricks.md?ask=&goal=
```
`ask` is the immediate question: it should be specific, self-contained, and written in natural language.
`goal` is what the user is ultimately trying to achieve, the reason they need the answer. Sharing it helps GitBook give you a better, more relevant answer. A goal is most helpful when it describes the outcome the user wants rather than restating the question. For example, with `ask=how do I create an API token`, a goal like `automate deployments from our CI pipeline` lets GitBook tailor the answer to that use case.
The response will contain a direct answer to the question and relevant excerpts and sources from the documentation.
Use this mechanism when the answer is not explicitly present in the current page, you need clarification or additional context, or you want to retrieve related documentation sections.

 {% endhint %}
```shell
# Add the orchestrator to your stack
zenml stack register databricks_stack -o databricks_orchestrator ... --set
```
You can now run any ZenML pipeline using the Databricks orchestrator:
```shell
python run.py
```
### Databricks UI
Databricks comes with its own UI that you can use to find further details about your pipeline runs, such as the logs of your steps.

For any runs executed on Databricks, you can get the URL to the Databricks UI in Python using the following code snippet:
```python
from zenml.client import Client
pipeline_run = Client().get_pipeline_run("
{% endhint %}
```shell
# Add the orchestrator to your stack
zenml stack register databricks_stack -o databricks_orchestrator ... --set
```
You can now run any ZenML pipeline using the Databricks orchestrator:
```shell
python run.py
```
### Databricks UI
Databricks comes with its own UI that you can use to find further details about your pipeline runs, such as the logs of your steps.

For any runs executed on Databricks, you can get the URL to the Databricks UI in Python using the following code snippet:
```python
from zenml.client import Client
pipeline_run = Client().get_pipeline_run("